
Ideas for better growth
How to Add an Event Calendar to Your Website
Chris Content · · 5 min read
Publish events people actually attend: clear dates and timezones, add-to-calendar links, honest capacity, and a registration path that does not lose attendees.
Event listings fail in boring, expensive ways: the timezone is missing, the venue is a building name with no address, the "register" link goes to a homepage, and the whole thing is a poster image that a phone cannot read.
This guide covers how to publish events that people can find, understand, add to their calendar, and turn up to.
Step 1: Write the listing a stranger can act on
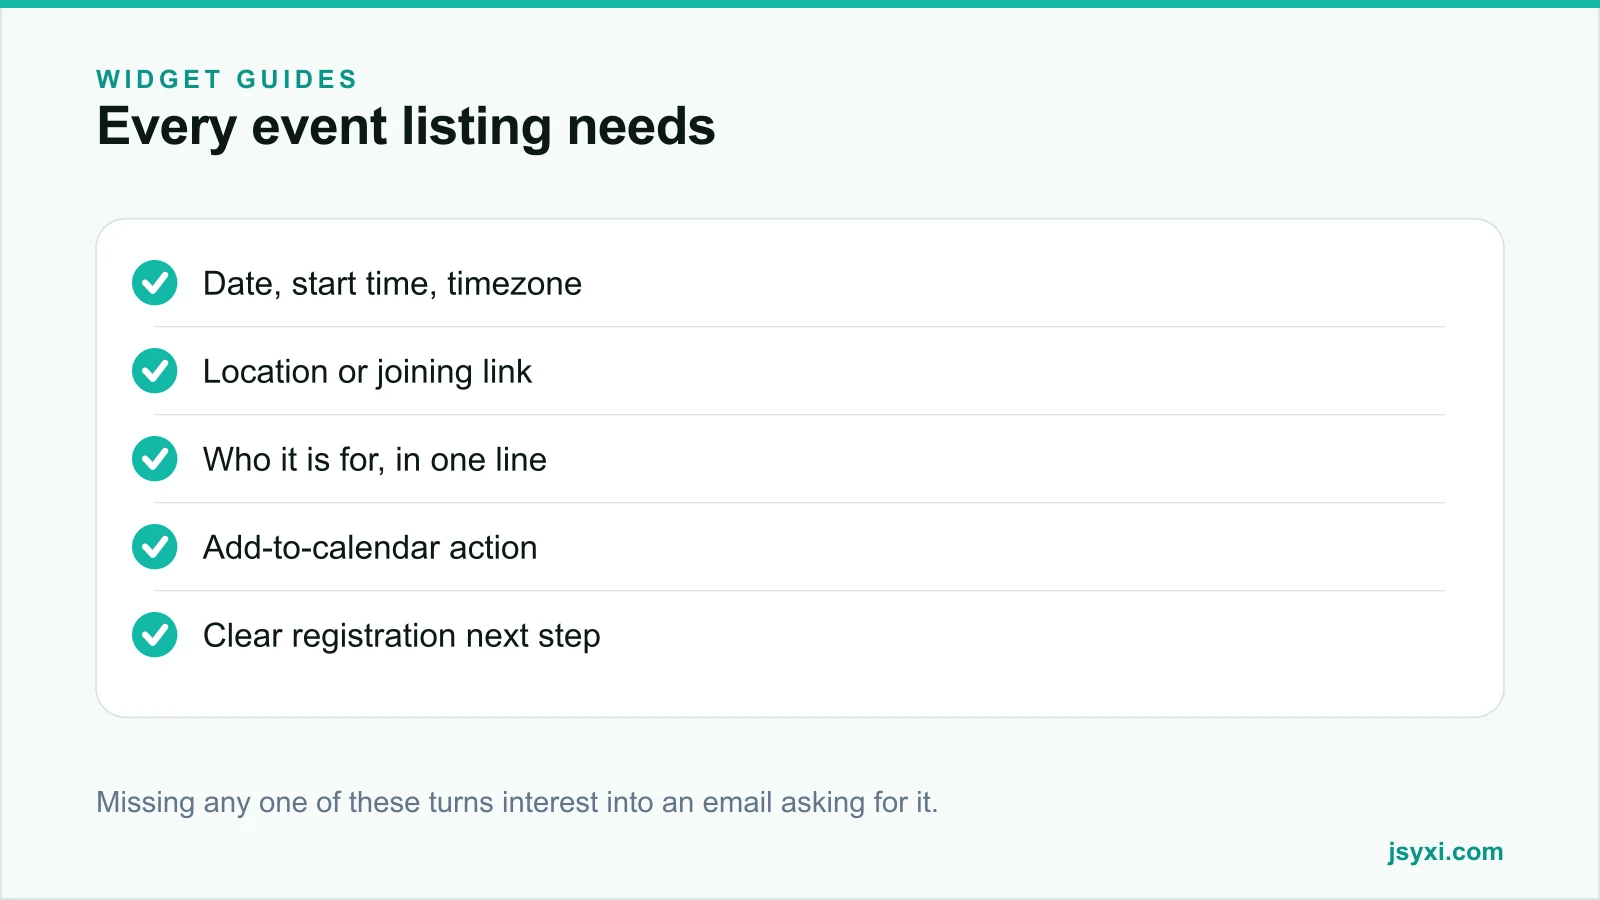
Every event entry needs six facts, visible without a click:
- Title that says what happens, not a clever slogan
- Date and start time, with the timezone stated
- Duration or end time
- Location - full address for physical events, platform for online ones
- Who it is for, in one line
- What the next step is - register, book, or just turn up
If any of these is missing, your inbox will supply the gap. Write "Saturday, 14 March 2026, 6:00 PM IST" rather than "this Saturday evening". Relative dates break the moment the page is cached, shared, or found through search three weeks later.
Step 2: Handle timezones honestly
For online events, timezone is not an optional detail:
- Always print the timezone abbreviation next to the time
- For an audience spread across zones, show one canonical time and let the add-to-calendar file do the conversion
- Never say "9 AM our time"
- If registration is region-specific, say so in the listing
Step 3: Publish it without touching your theme
The Event Calendar widget lets you list upcoming events with dates, locations, and add-to-calendar links, and embed the list on any page with one line.
Set up:
- Sorting by date, with past events dropping off automatically
- A visible "upcoming" versus "past" distinction if you keep an archive
- Consistent formatting for date, time, and location
- One primary action per event
Place it with the embed snippet guide. Because the listing lives in your workspace, adding next month's event is a two-minute job.
Step 4: Give an add-to-calendar action
The gap between "interested" and "attended" is almost always the calendar. Offer a one-tap add that includes:
- Correct start and end times with timezone
- Title and a short description
- Location or joining link inside the event body
- A reminder set by default where the platform allows it
An event that lands in someone's calendar has a far better chance of being attended than one that lives only in an email.
Step 5: Make registration short
If the event needs registration, keep the form to the minimum that lets you run it:
- Name and one contact route
- Attendance mode only if you run hybrid events
- Any genuine capacity constraint, such as dietary requirements for a catered session
Anything you can ask after registration should be asked after registration. Use the Form Builder widget so submissions land in your lead queue with the event as the source, and see lead capture best practices for field discipline.
Confirm immediately. A registration with no confirmation message is indistinguishable from a failed one.
Step 6: Be honest about capacity and urgency
Scarcity works only when it is true:
- Show remaining seats only if you actually track them
- If registration closes, close it and say so rather than leaving a dead form
- If a session is full, offer a waitlist instead of silence
- Never restart a countdown that has expired
A Countdown Timer can be useful for a genuine registration deadline. Our post on honest urgency covers where the line sits.
Step 7: Plan what happens after the event
Most event pages are abandoned the day after. Decide the after-state in advance:
- Replace the registration button with a recording link, or with "This event has ended"
- Keep the page live if it holds useful content - it may rank and bring traffic to the next event
- Link the past event to the next upcoming one
- Publish a short recap so the URL keeps earning
Deleting the page throws away links and search history. Updating it compounds them.
Common mistakes to avoid
- A poster image with the details baked in. It cannot be read by search engines, screen readers, or a phone at arm's length.
- No timezone. Guaranteed to produce no-shows for online events.
- Registration that goes to a generic homepage. Link to the specific action.
- Past events left at the top of the list. Sort by date and archive automatically.
- No reminder. Send one the day before and one an hour before for online sessions.
Frequently asked questions
Should past events stay on the website?
Yes, in an archive, especially if they have recordings or summaries. They demonstrate consistency, they can rank for topic searches, and they give first-time visitors a sense of what your events are like.
How far in advance should events be published?
Publish as soon as date, time, and location are fixed - typically three to six weeks ahead for a workshop or webinar. Publishing early gives the page time to be found and gives attendees time to plan.
Do I need registration for a free event?
Only if you need to control capacity, send joining links, or follow up afterwards. If none of those apply, an add-to-calendar action alone will get more attendance than a form.
How do I reduce no-shows for online events?
Send a confirmation immediately, provide an add-to-calendar file containing the joining link, and send a reminder an hour before. Most no-shows are forgetfulness, not lost interest.
Next steps
List your next three events with complete details and timezones, publish them with the Event Calendar widget, and give every event an add-to-calendar action. Keep the past ones as an archive rather than deleting them.
Start free and get your events page live today.